No Products in the Cart
Clean the bumper, surfaces under the car and the fender wells thoroughly (tar & grease remover is recommended).

Turn the front wheels to gain easier access to the fender liner mounting screws that you will be replacing.

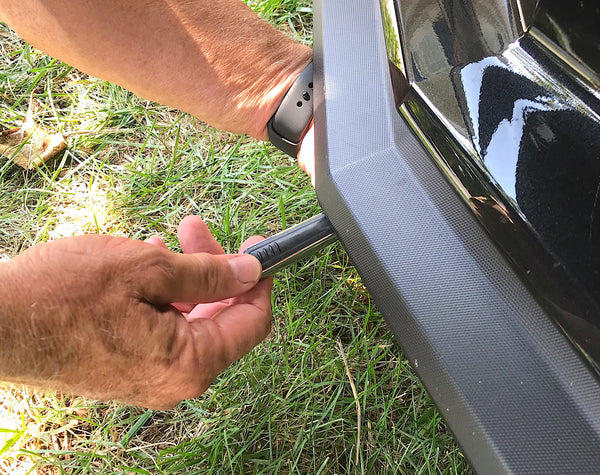
Locate the four (4) mounting screws at the edge of the bumper inside the fender liner and remove them. Replace each one as you go with the supplied snap-head screw studs. Repeat this step on the other side of the car.

Begin the installation by fastening the top 2 snaps on one end of the mask to the screws just installed on the edge of the bumper.

Stretch the mask across the front of the bumper, being careful not to rub the plastic clips against the paint. Attach the 4 snaps to other side of the car and the remaining 2 snaps on the original side.
Note: the tension in the mask is normal and important to the overall performance of the product.

Pull the bottom edge of the mask down under the bumper, noting the position of the snap on the bottom-center edge of the mask. Replace the screw on the bottom of the bumper that best aligns with the snap on the mask with a snap head screw stud. Fasten the snap on bottom of the mask to the screw just installed on the bottom of the bumper.


Open the “frunk” hood and locate the bump-stop wells at each corner of the frunk shroud.
Holding the top of the mask pull it up to the hood opening and secure the clip at the corner of the mask into the opening in the recessed well. Repeat this step for the other corner of the mask.

Note: When closing the frunk make sure the top edge of the mask does not cover the latch opening or in any way interfere with the full and secure closing of the frunk. If necessary, 1) slightly pull the mask back while carefully closing the frunk, 2) Pull the hood down and set the striker gently into the latch, release the mask edge and then firmly press down on the front edge of the hood until the latch clicks twice. Check that the hood is flush to the fascia to ensure the hood is fully closed.
The NoviStretch® FBM850V mask is easily secured using snap fasteners integrated into the design. This requires snap-head screws, supplied in the hardware kit, be installed on the car as described below. The initial installation should require approximately 15 minutes to complete. After setup, the mask can be quickly & easily installed and removed.
The FBM850V is designed for installation on all 2020 and later 8th Generation “Mid-Engine” Corvettes. Enclosed with each cover you will find:
15 & #20 Torx head wrench
SPECIAL INSTALLATION INSTRUCTIONS
Front License Plate Installation– A front license plate can be installed over the mask without causing harm to the mask. The small holes made by the mounting screws will not cause the fabric to “run”. Thumbscrews may be used to make the removal of the license plate more convenient.
Download PDF Guide Download PDF Guide